
Recently members of the Taunton Leisure team were fortunate enough to head up to Richmond for a tour of the Altberg factory and to meet Altbergs founder Mike Sheehan.
A bit about Altberg
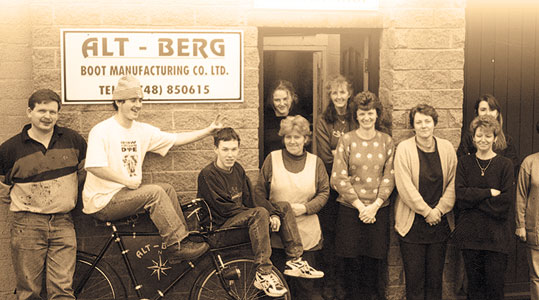
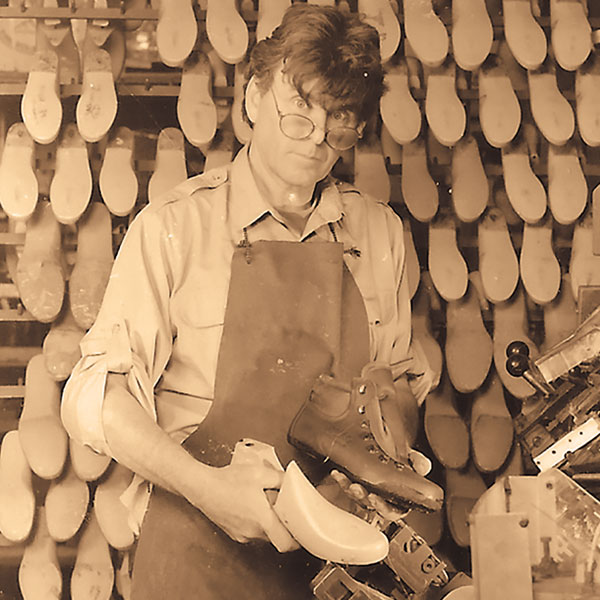
Based in Richmond, Altberg was founded in 1989 by Mike Sheehan. Previously employed at the Old Richmond Shoe Factory, Mike experienced a setback when the factory closed down due to the drastic decline in craft-based manufacturing in over the past 12 years in the UK. Rather than embarking on a different path, Mike opted to utilise the skills he had learnt in the industry and ventured into manufacturing hiking boots. During that period, the majority of hiking boots were manufactured in Italy or Germany, where wages were comparable to those in the UK, Mike felt it would be a more even playing field than other types of footwear.
During the first five years, Altberg faced significant challenges, resorting to maxing out credit cards and relying solely on word-of-mouth referrals due to the lack of a dedicated salesperson. However, the tide gradually turned, and the company expanded its clientele to cater to the demand for police and military boots.
By 1999, Altberg successfully cleared all its debts from the past five years and In 2001, the company secured its first substantial order for peacekeeper police boots, marking a pivotal moment for Altberg.
At the time, production stood at 150 pairs of boots per day, while the order demanded 5000 pairs. To meet the demands of these larger contracts, Mike sought out a larger factory in Italy. There, he and his team worked one week out of each month, while dedicating the remaining time to the Richmond factory.
Since then Altberg has gone from strength to strength supplying the military and civilian market with high-quality boots with traditional craftsmanship at its heart.
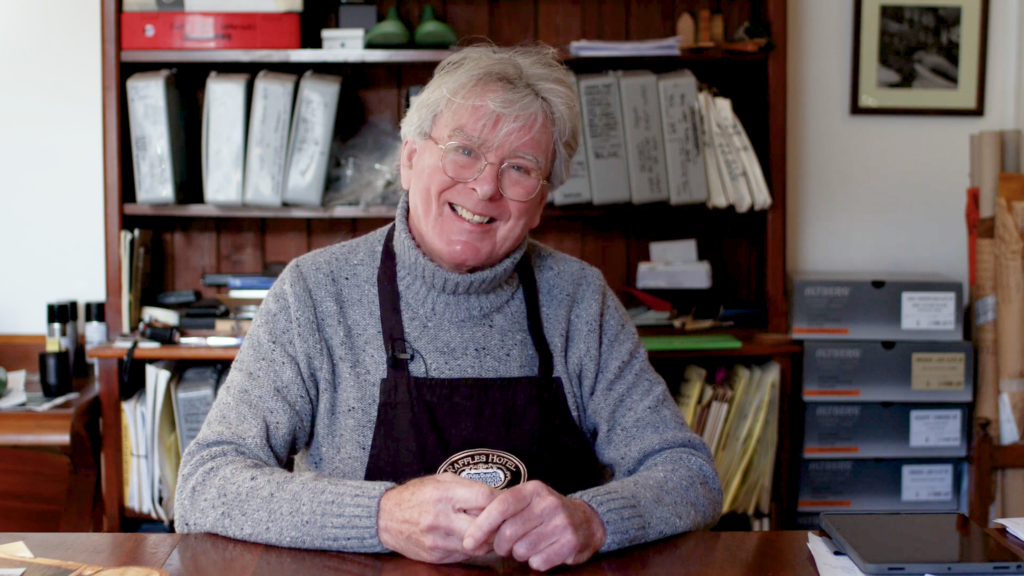
Meeting Mike
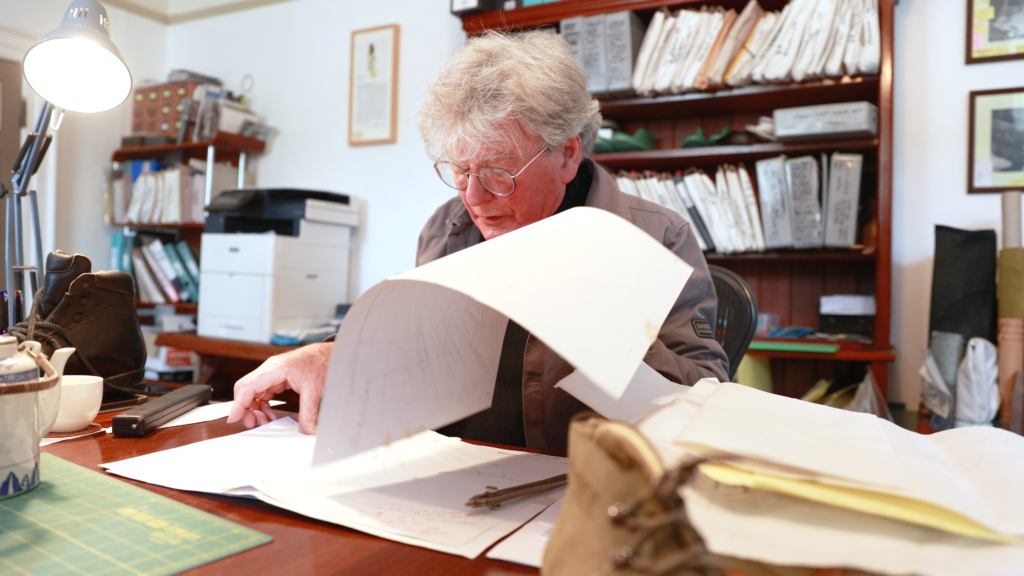
Before heading to the factory for a tour, we were invited into Mike’s home to learn more about the brand and to watch him walk us through the steps of designing a boot, turning a 2D sketch into a 3D design. It was amazing to see the various stages involved in bringing these ideas to life and the traditional tools Mike still uses to this day!
Mike begins by creating a traditional hand-drawn sketch. These sketches capture the essence of the boot, taking into account elements like silhouette, proportions, and functional features.
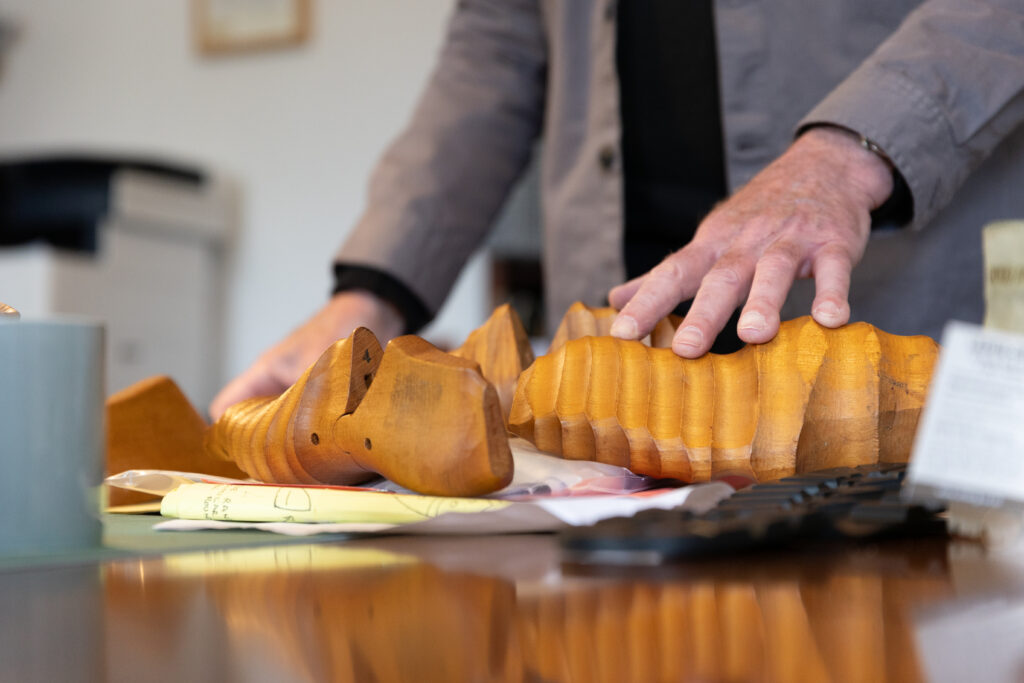
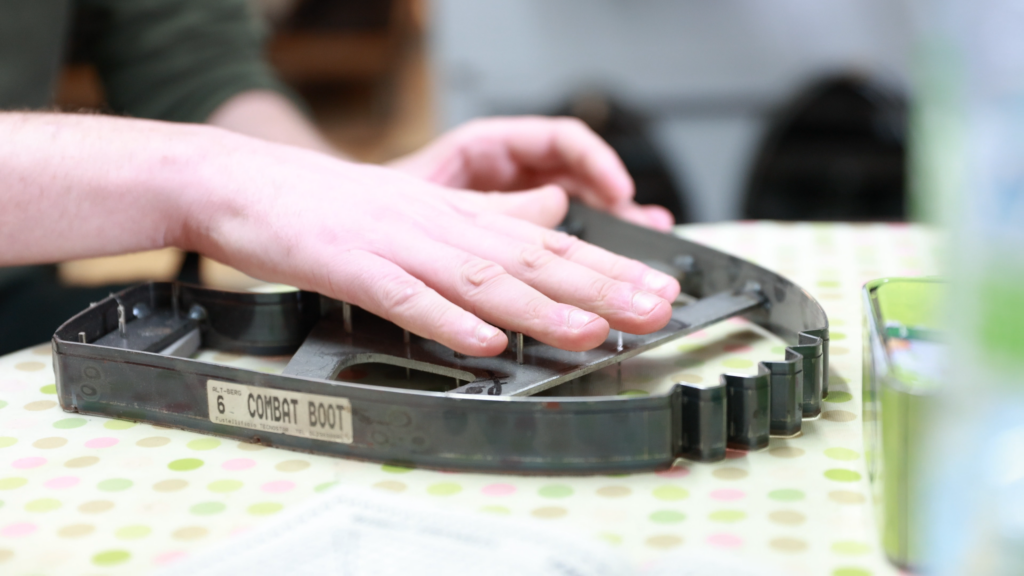
Once this initial sketch is completed, a last is fashioned. Even now Mike opts for traditional shoemaking methods over CAD software. In earlier times, this involved sculpting a last from wood or clay. However, in recent years, he has opted to use a filler material applied to a standard last, this is then carefully carved and sanded by hand to achieve the desired shape. This hands-on process enables Mike to visualise and fine-tune the design in three dimensions.
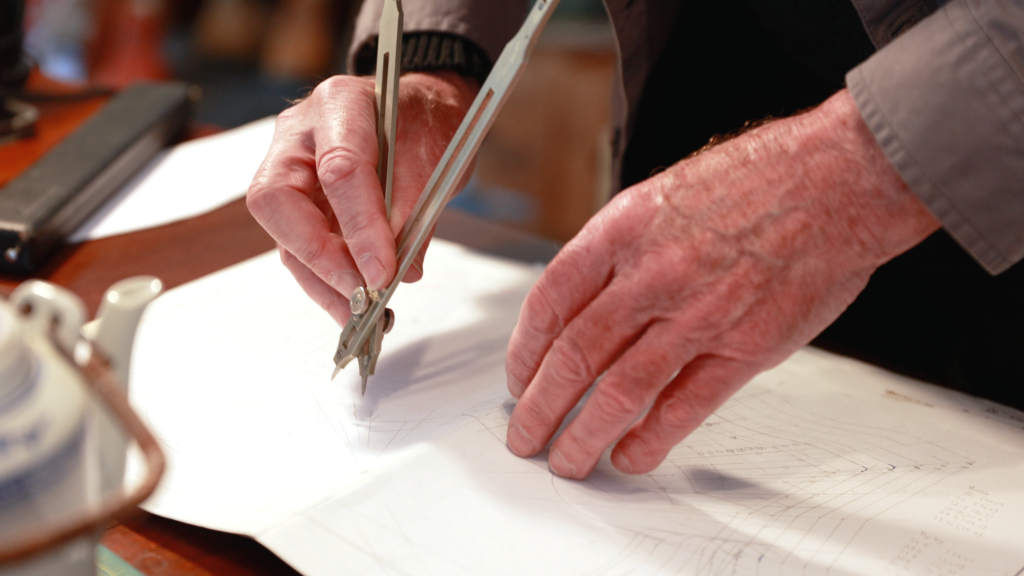
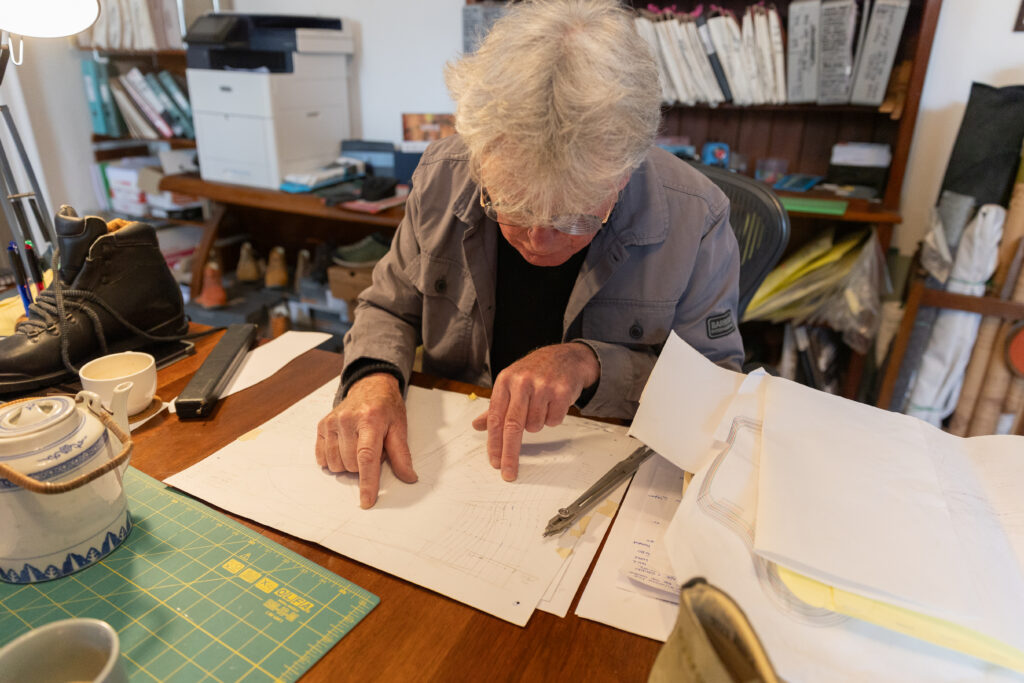
Once Mike is satisfied with the last, the next step is crafting patterns for the boots. While various materials can be used for this task, Mike favours masking tape. This allows him to apply the tape to the last, adhering to the boot’s shape. Once Mike is happy the tape is carefully removed and flattened, transforming into a 2D Pattern. With traditional tools such as a ruler and a Proportional Divider, Mike creates scaled 2D templates on card for each part of the boot.
These designs are then sent away for the production of leather stamps. Mike even shared with us some patterns that had been burnt from where the stamps were bent and welded on top of these card patterns.
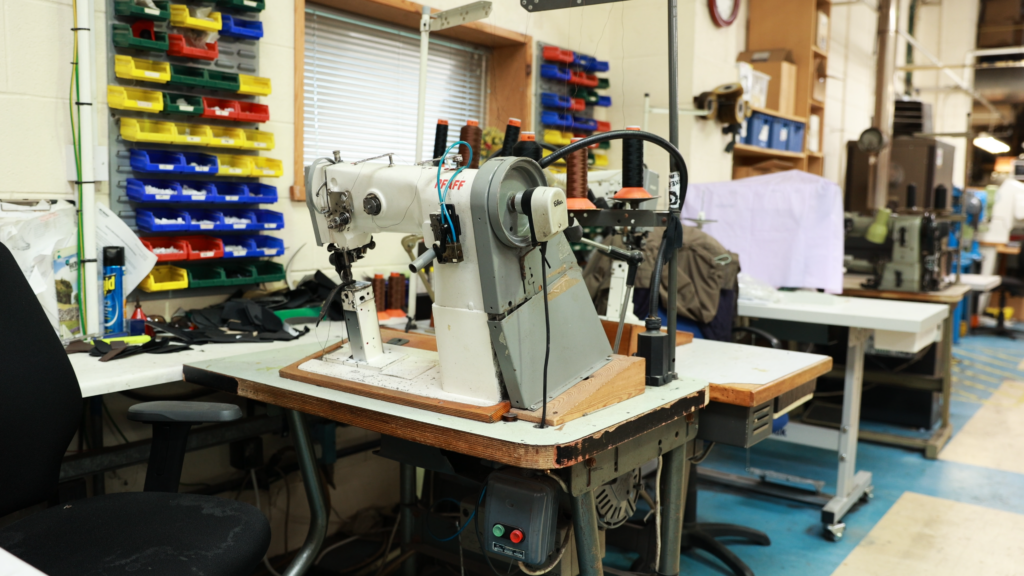
A Tour of the Factory
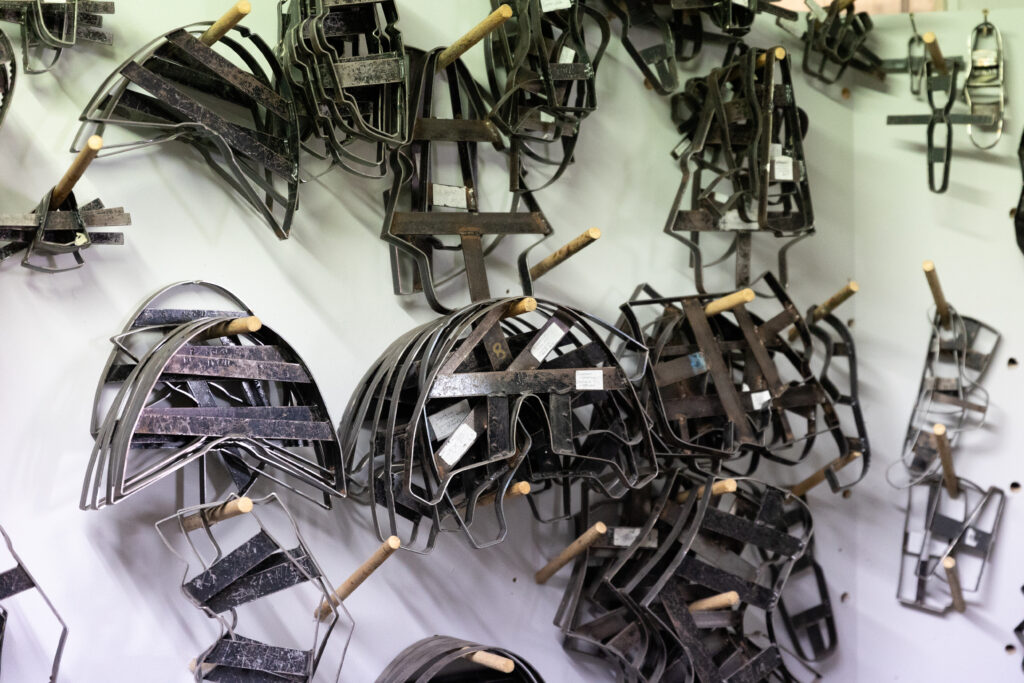
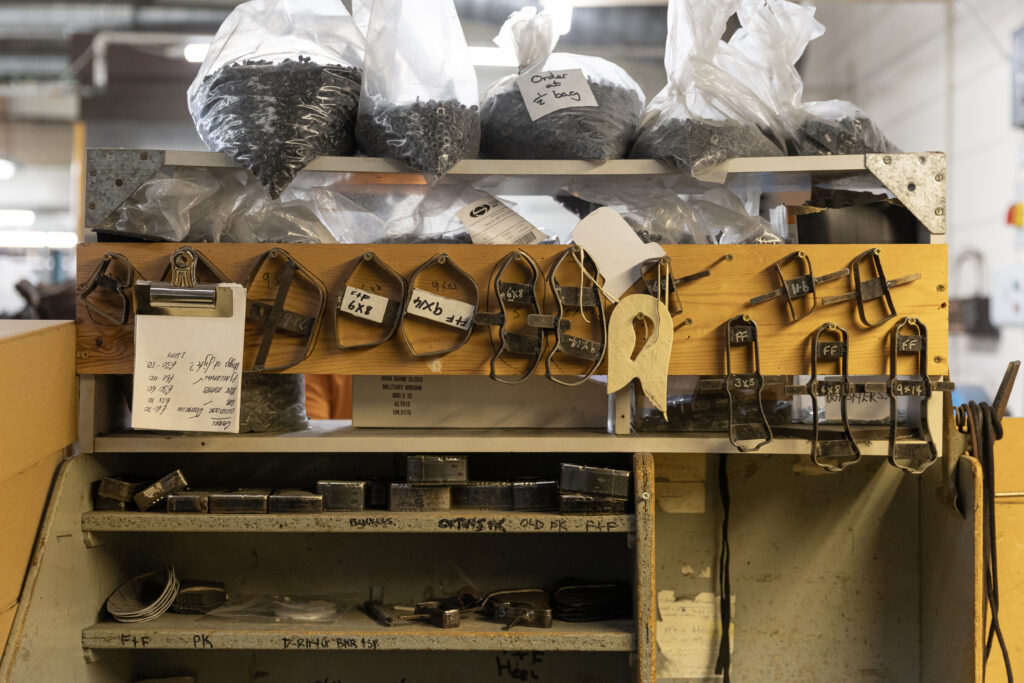
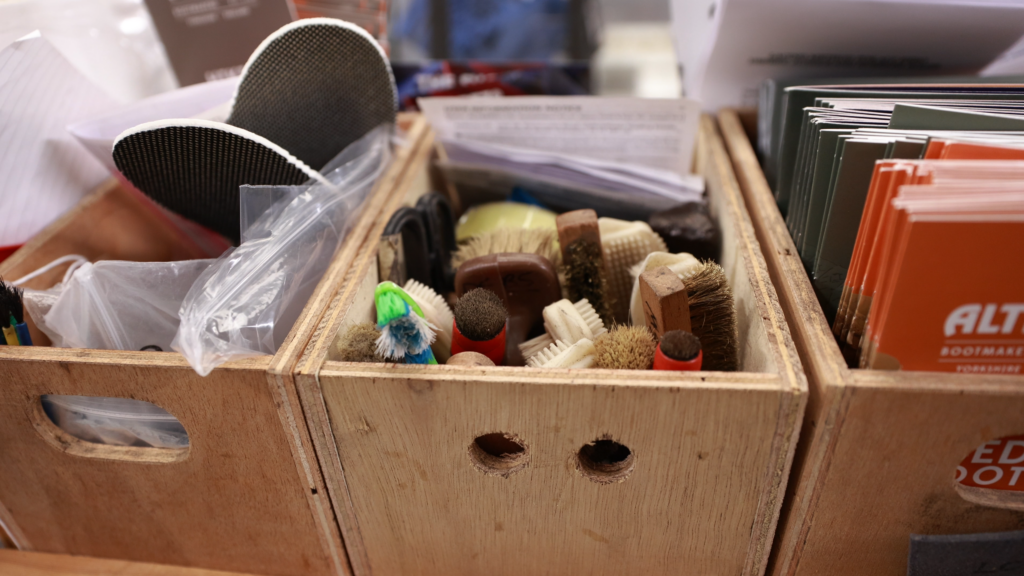
These stamps are where our tour of Altberg’s Richmond factory began. Joe, Mike’s son, welcomed us to the factory and led us to a side office. Covering the walls and shelves were numerous leather cutting stamps, each meticulously labelled with the boot’s name and the specific piece it was crafted to cut.
Joe explained their usage, confidently expressing his ability to discern the intended boot for each stamp based solely on his extensive boot-making experience. Furthermore, he explained to us about the stamps’ versatility, noting that they were designed not only to cut leather but also to cut rubber, allowing them to be used in the creation of the rands often seen on Altberg boots.
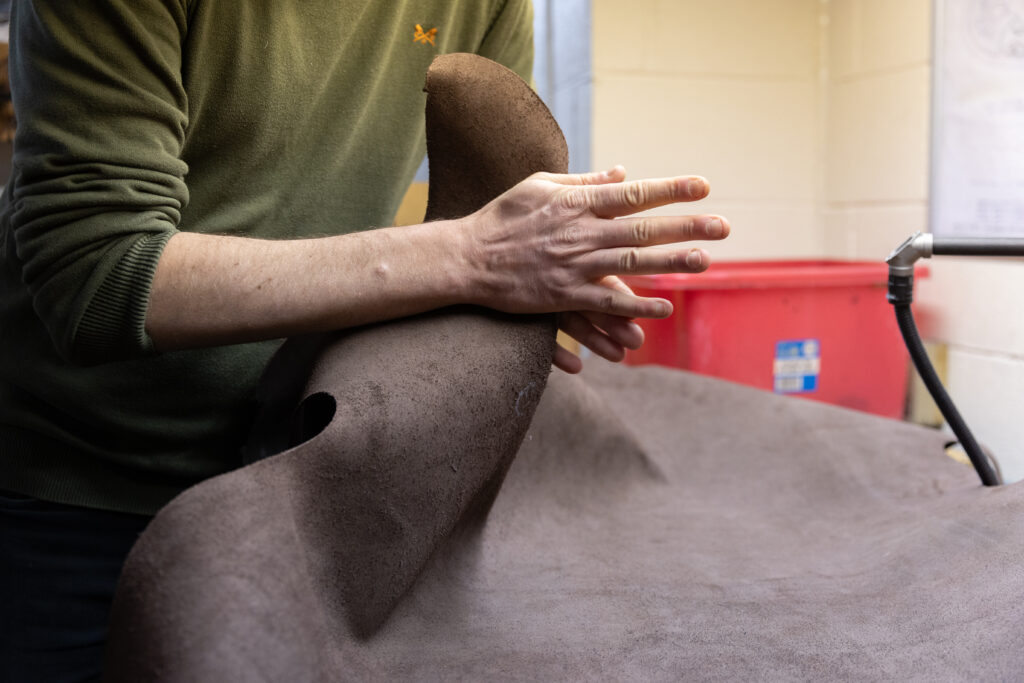
After getting a better understanding of the stamps, Joe guided us to where they’re used. Here, he explained how the machines operate and talked about the leather they use. Joe stressed how important leather is for making a high-quality boot.
That’s why they’re careful about the leather they choose, making sure to use the right part of each hide for the right job. For example, the upper part of the hide is tougher and less likely to crease, so it’s perfect for the upper section of the boot. Meanwhile, the lower part is softer and more malleable, making it better for areas like the tongue and ankle of the boot!

Constructing the boot
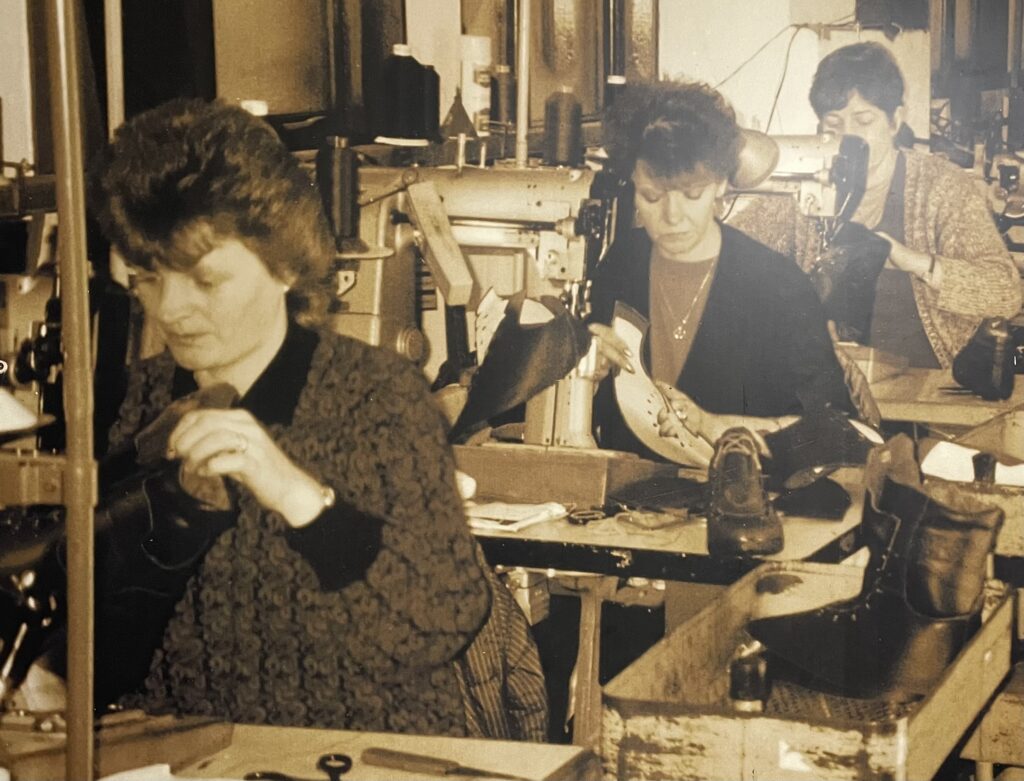
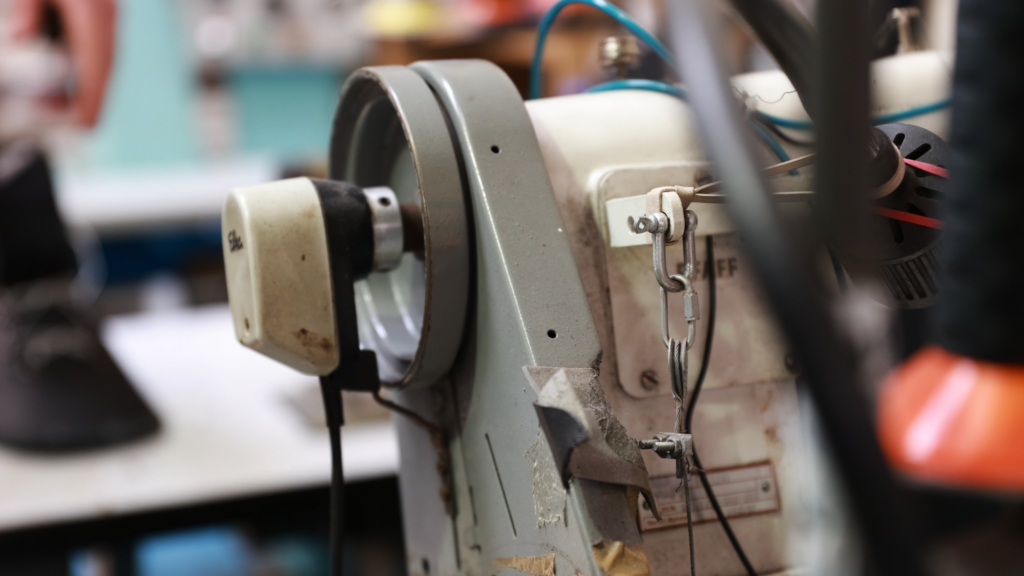
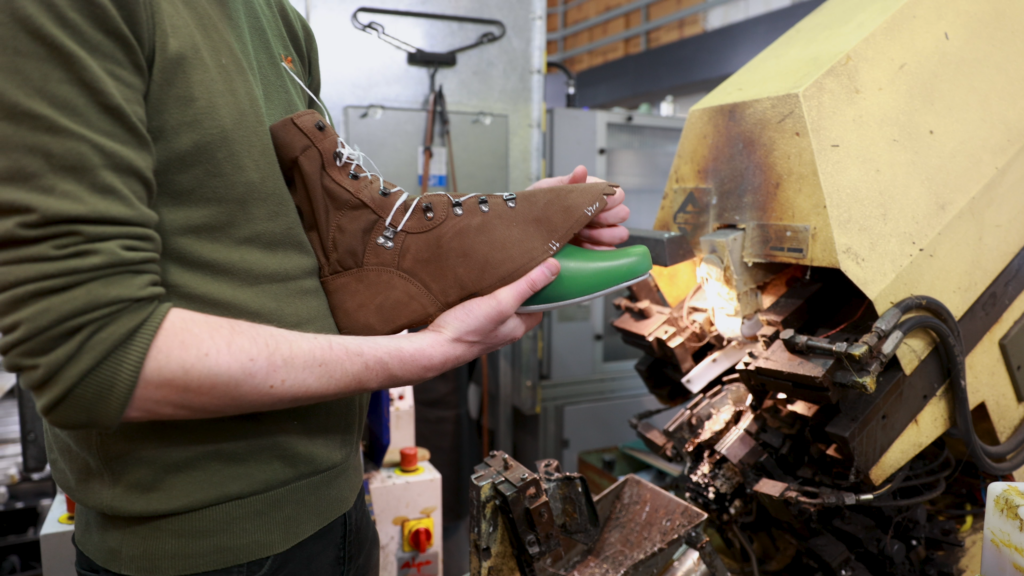
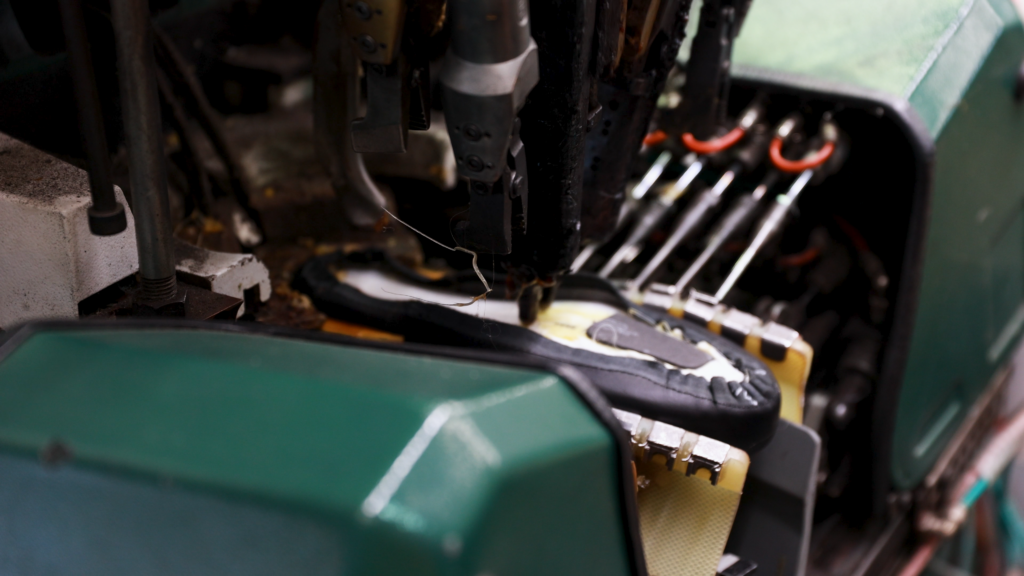
Next, Joe led us to the area where the boot construction started. Here, skilled seamstresses carefully sew each piece of leather together. Though we didn’t witness this process first hand, Joe presented us with an example of what the boot would look like after this step. Additionally, he pointed out that this is where a waterproof liner would be incorporated if the boot required one.
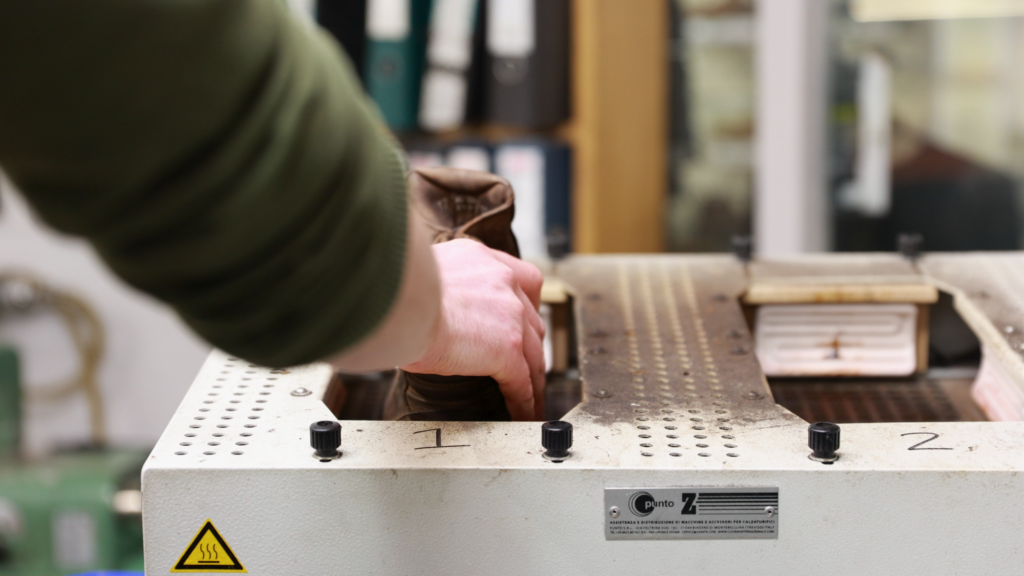
Following that, we moved over to the initial stage of shaping the boot, starting with the heel. Here, the boot is positioned onto a heated mould, which warms the leather to the desired form. Once adequately heated, it’s swiftly transferred to a freezing cold mould, where the leather hardens, resulting in a fully shaped and rigid heel cup! Witnessing the transformation of the leather through this process was truly remarkable, showcasing how much structure it provided to the boot!
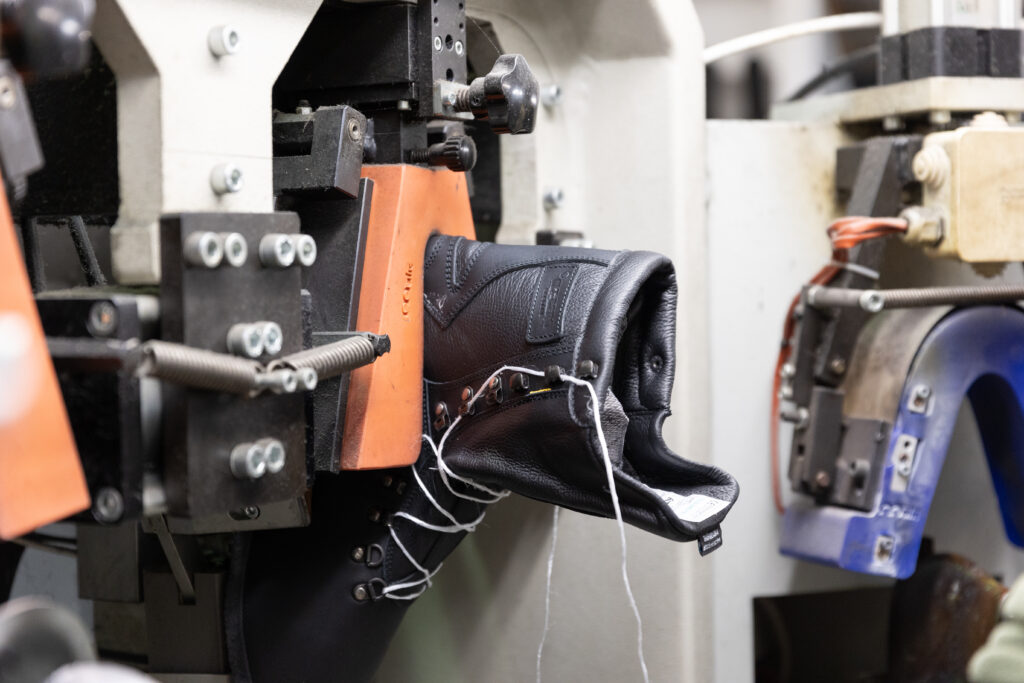
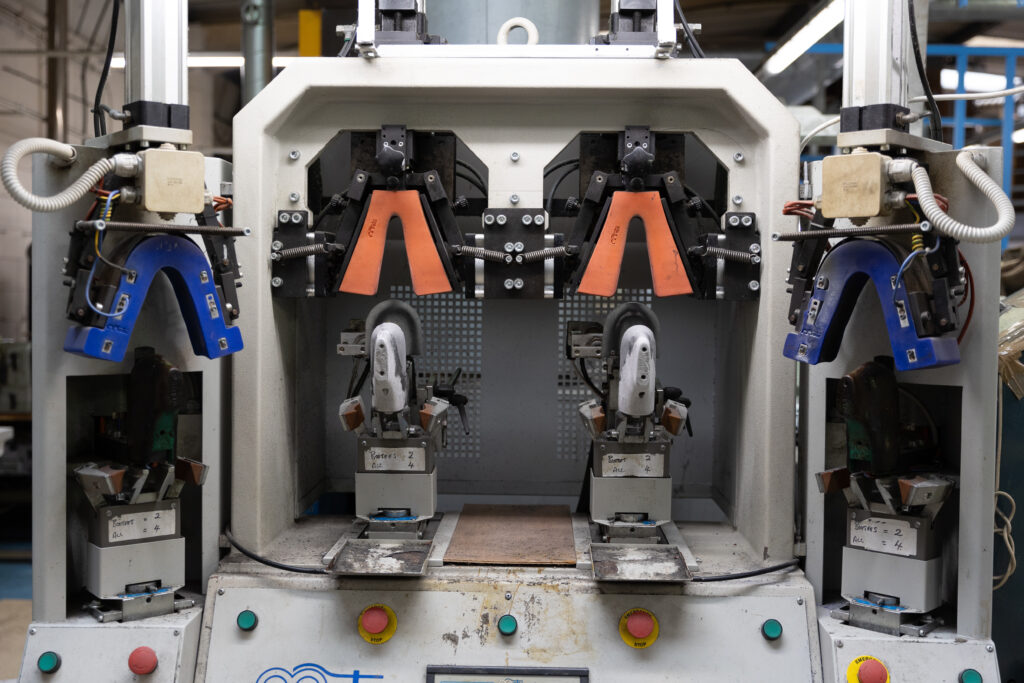
Following that, attention turned to shaping the front of the boot. Prior to this step, the last is inserted into the boot, and a midsole is added to the bottom. This assembly is then placed into a comparable machine to the previous one, which heats the leather and, using clamps, stretches and moulds the leather into its desired shape. Subsequently, it moves directly to a machine that bonds the leather to the midsole with glue. Upon completion of this process, the result is a product that closely resembles a boot.
Adding the sole and rand
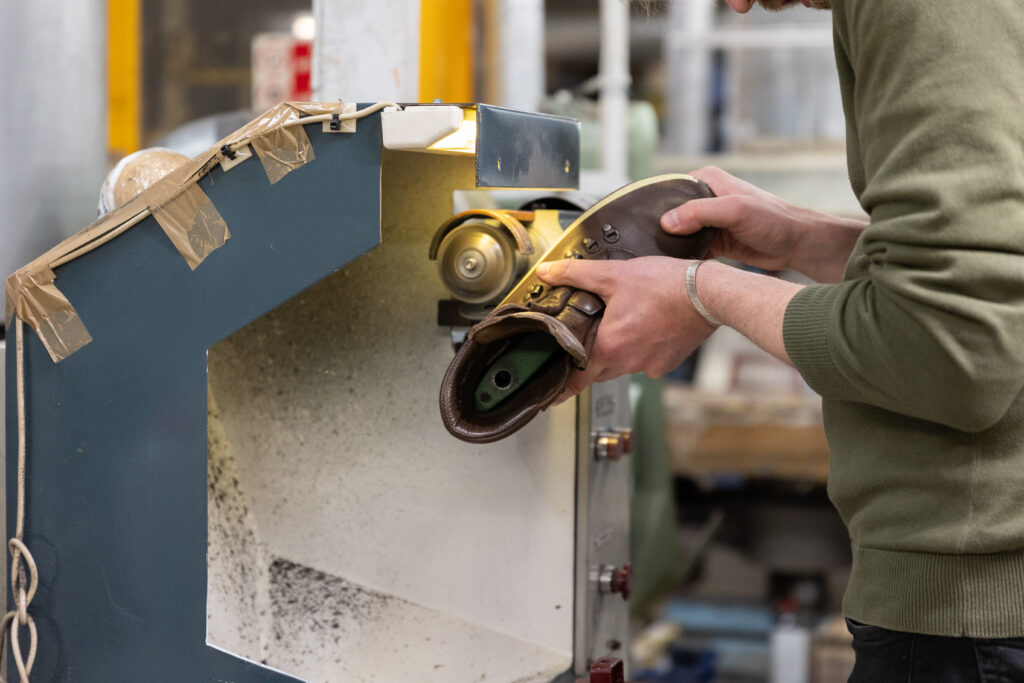
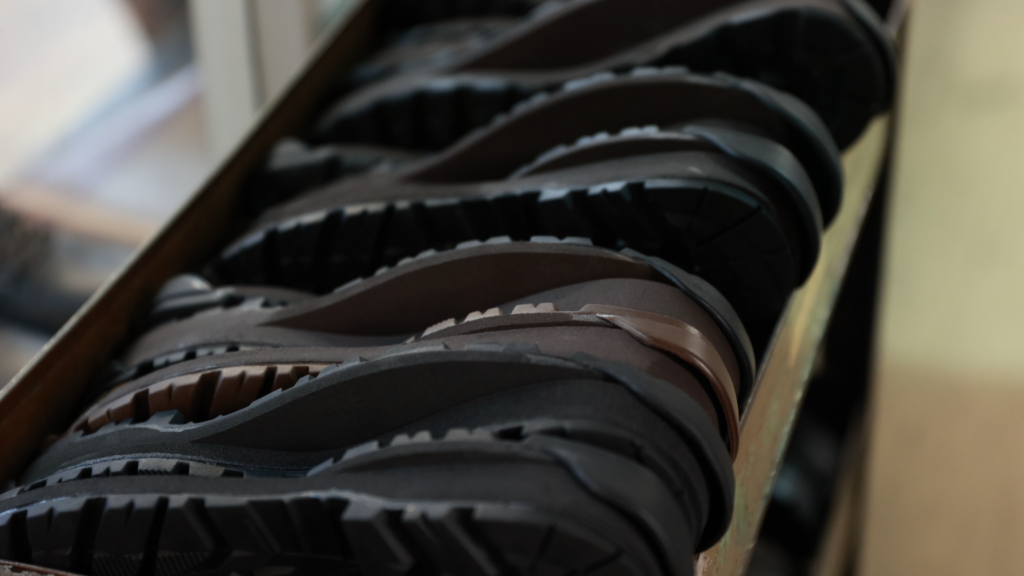
Moving on to the next stage, the boot is prepared for its sole and rand. Firstly, the base of the boot is sanded down, ensuring it’s both flat and sufficiently roughened to facilitate adhesion of the sole unit.
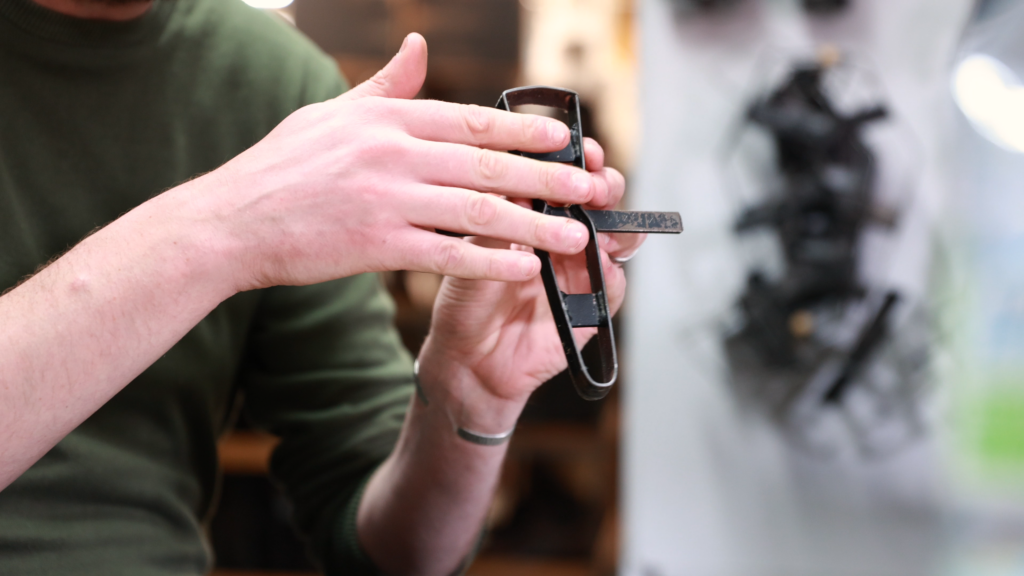
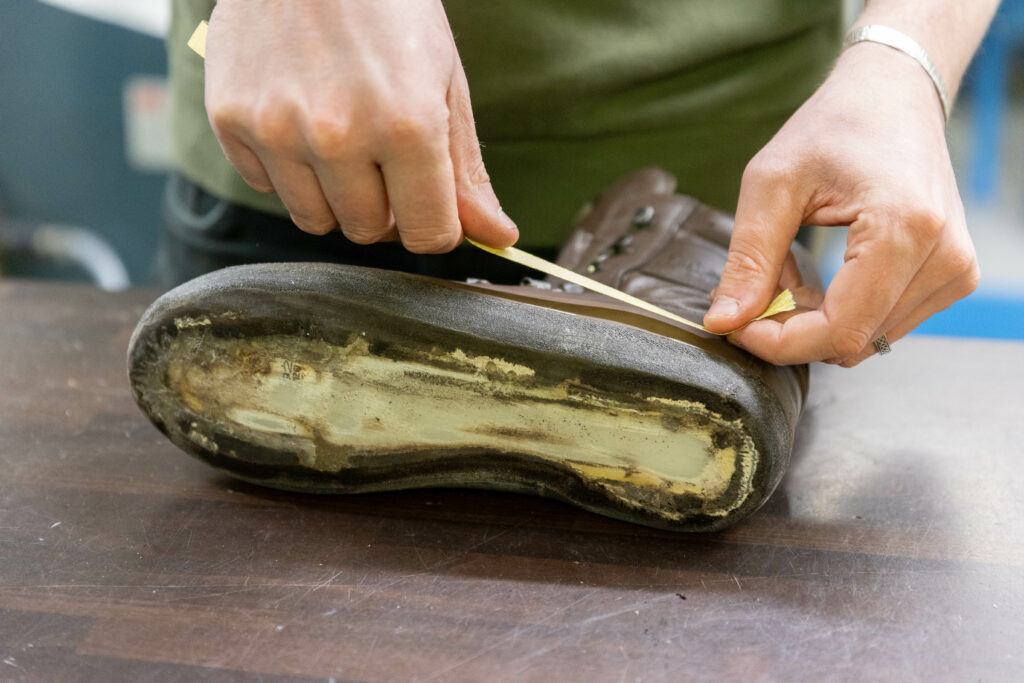
Following this, Joe shows us their method of marking out the rand’s placement using a specialized tool. Masking tape is then applied along this marking to shield the leather from any adhesive and protect it from the sanding. The boot is then returned to the sander, where the area designated for the rand is similarly roughened.
we are now approaching the final stages, and attention turns to the application of the rand and sole unit. The rand is done first by applying adhesive to the rubber and wrapping it around the designated area. The boot is placed into a specialised machine equipped with two water-filled bags, ensuring even pressure is exerted across the entire surface. Following this, the sole unit undergoes a similar process, with the boot inserted into a machine that applies direct pressure to firmly attach the sole.
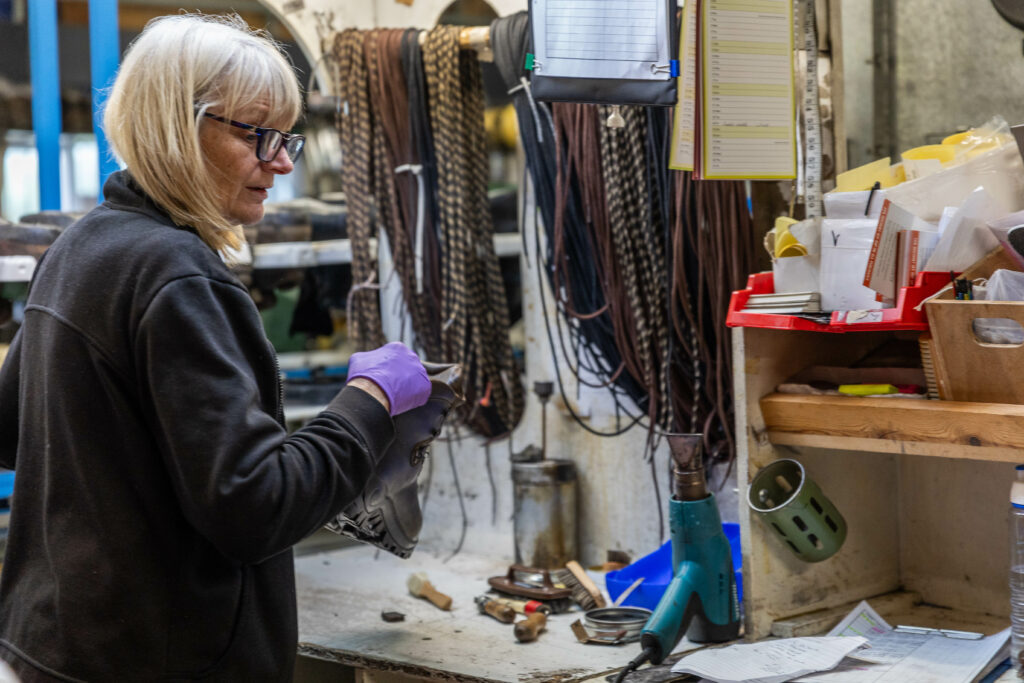
The finishing Touches
Now, the boots have reached the final stage of the process, where the finishing touches are applied. This entails the addition of footbeds and laces to the boot. Additionally, the boots undergo a buff and clean, followed by a quality check to ensure they meet Altberg’s exacting standards.
Our team had an amazing chance to see how much effort and care Altberg puts into each boot. If you would like to learn more about Altberg or find an Altberg that’s right for you either head to the Taunton leisure Website or pop into one of our 3 stores for an expert boot fitting.


")